If you have found yourself drawn to any of the apartments in "Only Murders in the Building", it probably says something about your personality. Check out what the design styles of Charles-Haden Savage, Oliver Putnam, or Mabel Mora says about you!
DIY FRIDAY: How to make a fabric ribbon bow
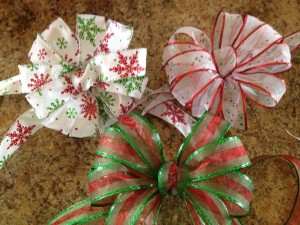
Whether for wreathes or packages, knowing how to create a beautiful, full bow is essential. Fortunately, I had a mom who was very crafty and I learned this skill early on, but for others, the thought of tying something more than a shoestring bow may seem daunting.
Learning to make these bows is not really that difficult, and you can usually make them at a lower cost than store-bought, large scale bows. Below you find a step-by-step guide to making your own bows for home decorating or gift packaging.
SUPPLIES NEEDED:
• 15 feet of wire-edged fabric ribbon
• Yardstick or measuring tape , although I prefer the yardstick
• Floral wire
• Wire cutters
• Scissors
1) Cut two strips of ribbon–one 36″ long and the other about 20″ long. Cut the ends to an angle and set aside. Cut a 12″ section of floral wire. This may be overkill, but it’s better to have too much than too little, especially if you’re attaching your bow to a wreath.
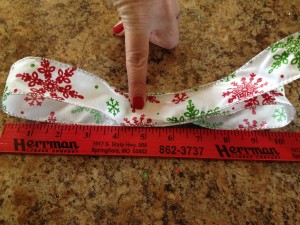
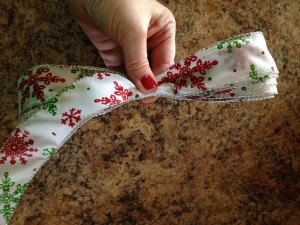
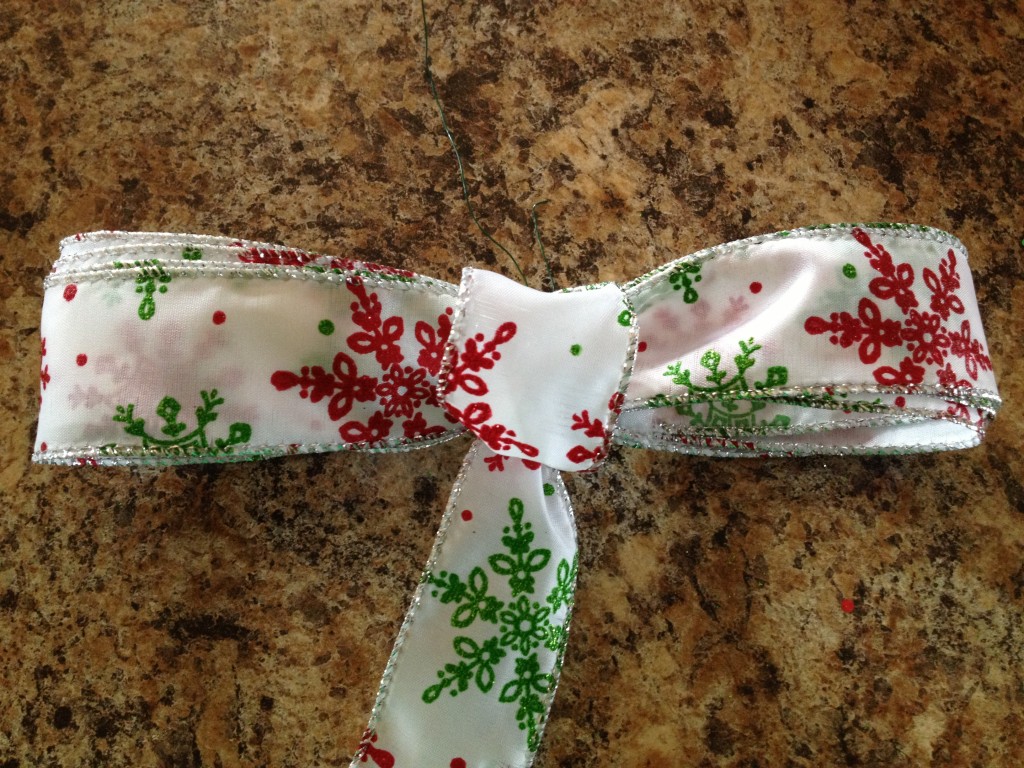
2) Using the remainder of the ribbon, make a 10″ loop. Keep the end about 1″ off center in the middle so it will be caught by the wire.
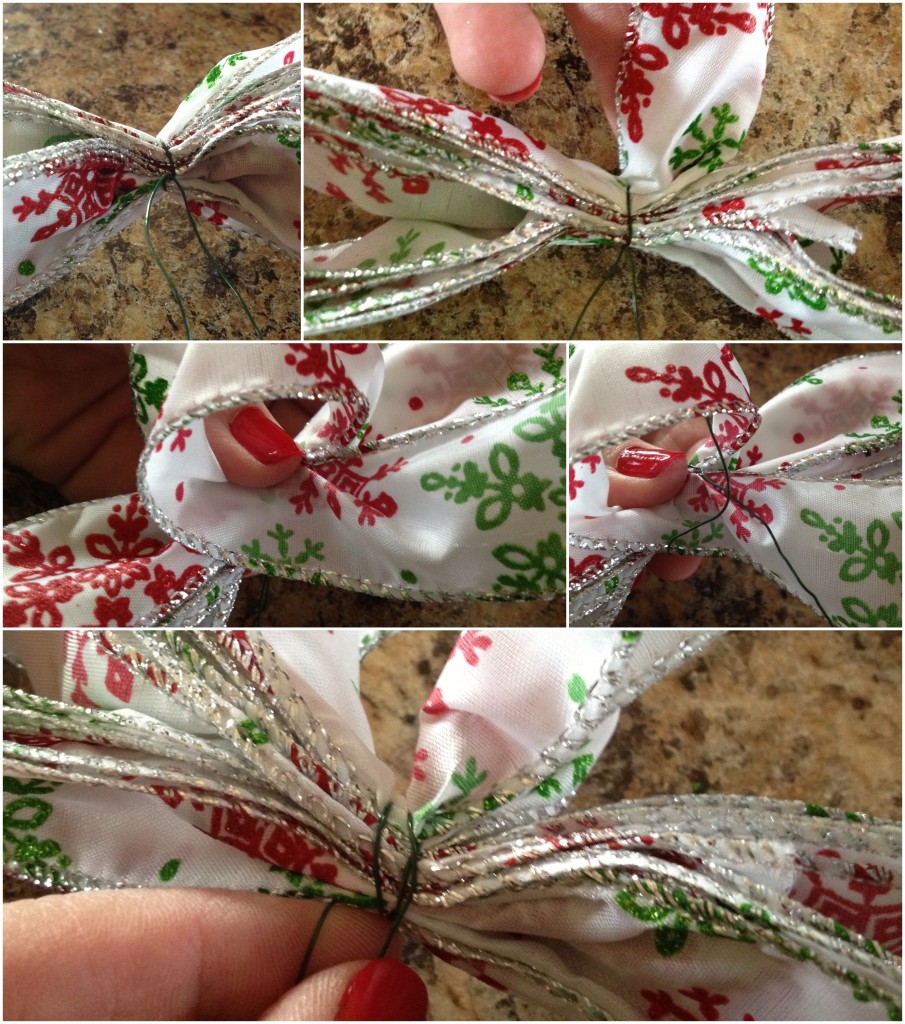
3) Continue to wrap the ribbon around until you have about 5 loops on each side. You should have a 4″-6″ tail left in the end. Pinch in the center and wrap with wire, twisting tightly in the back.
4) Loop the tail of the ribbon around to make the center of the bow, twisting it to put the pattern on the outside. Thread the tails of the wire up and through the loop and twist tightly in back only 1-2 times. You can tuck any remaining ribbon up into a loop or cut off and tuck into the center.
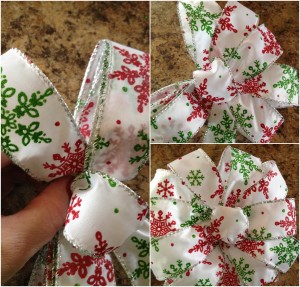
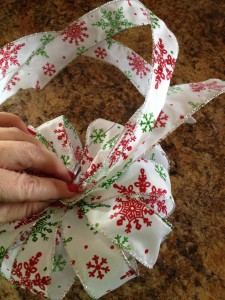
5) Holding the bow by the center, take each individual loop — starting with the innermost loop — and pull and twist out. Hopefully you have your wire nice and tight so the ribbon doesn’t slip around. Continue with each loop, alternating left and right from the center. Hold bow from the wire in back and adjust the loops to where they’re symmetrical and nice and rounded.
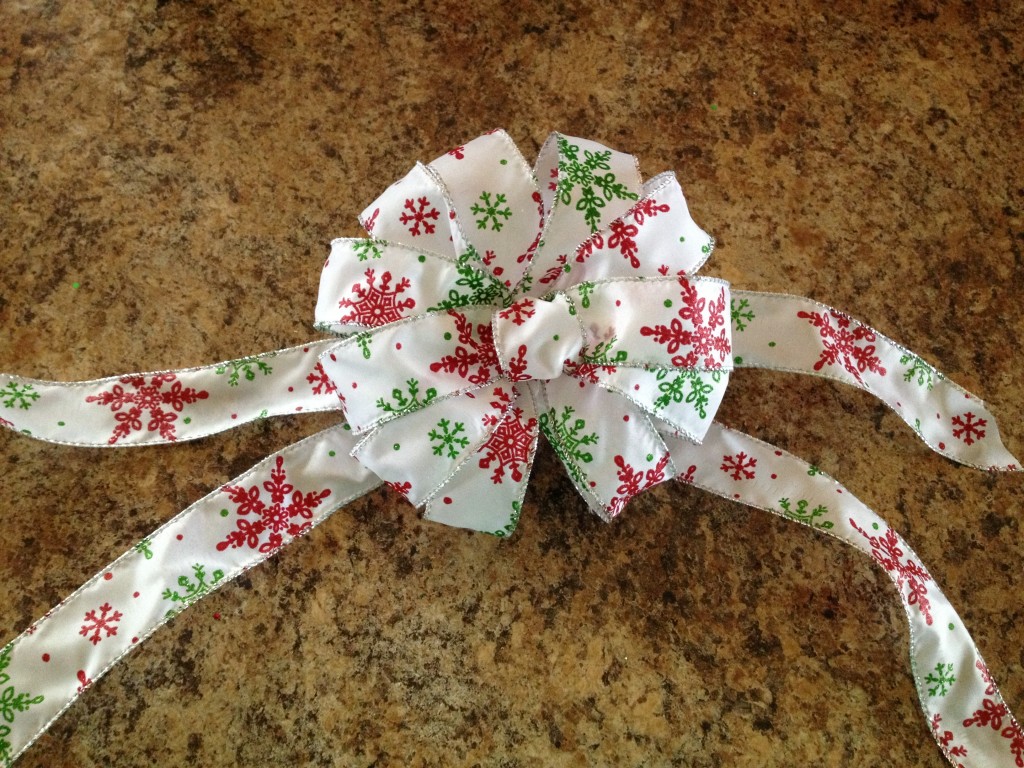
6) Place the 20″ section of the ribbon on top of the 36″ section and secure to the back of the bow.
And there you go! One big, beautiful bow! If you’re using this for a package, you may want to have a second roll of ribbon to wrap around the gift or you can just use the long section. Don’t worry if you have more or less than 5 loops per side, or if they’re not even. Just fluff the loops around to fill in the gaps. The wire edges help to keep the bow’s shape and give an interesting lilt to the tails.
Good job!

